


Over time, even high-end ergonomic office chairs inevitably begin to sink. If left unaddressed, this not only causes severe discomfort and breaks your concentration, but it can also negatively impact your posture.
So, what’s the solution? Follow this guide to learn exactly why your chair is sinking and how to fix it.
Why Is Your Office Chair Sinking?
To solve the problem, you first need to understand the mechanics. Almost all modern ergonomic office chairs use a pneumatic gas cylinder to adjust seat height and act as a shock absorber.
Inside this heavy-duty metal tube is pressurized nitrogen gas. When you pull the height lever, a valve opens, allowing gas to flow and adjusting the height. When you release it, the valve locks.
Why does it sink? Seal Failure. Over time, the rubber O-rings and airtight seals inside the cylinder degrade. Factors like daily use, weight fluctuations, and natural aging accelerate this wear. Once the seal is compromised, high-pressure gas slowly leaks out, forcing you into a slow, maddening descent while you try to work.
Quick and Dirty Fixes
If you are facing a tight deadline and need an immediate stopgap, here are two temporary hardware "hacks" to keep your seat at the right height.
Hack 1: The Hose Clamp Method
This is the quickest stopgap solution. You will need to buy a standard stainless steel hose clamp from a local hardware store, along with some heavy-duty duct tape.
- Expose the Cylinder: Slide the plastic telescopic skirt (the protective cover) down to reveal the silver metal surface of the gas cylinder.
- Set the Height: Raise the chair to your preferred, ergonomic height. Make sure your feet are flat on the floor, and your elbows are at a comfortable 90-degree angle to your desk.
- Wrap the Cylinder: Wrap several layers of duct tape directly around the silver gas cylinder, right below the seat base. This provides necessary friction to prevent the metal clamp from sliding down under your weight.
- Attach the Clamp: Place the hose clamp over the tape and use a screwdriver to tighten it as much as possible. The clamp now acts as a physical barrier, preventing the seat from sliding down.
Hack 2: The PVC Pipe Method
This method is sturdier and more permanent, but it requires a trip to the hardware store for a 1.5-inch diameter PVC pipe.
- Measure the Gap: Adjust the chair to your ideal typing height. Measure the length of the exposed silver cylinder—the distance from the bottom of the seat mechanism to the top of the thicker outer column.
- Cut the PVC Pipe: Cut the PVC pipe to match this exact measurement.
- Slit the Pipe: Using a saw, cut a straight slit lengthwise down the entire PVC pipe.
- Snap It On: Pry the slit open and snap the PVC pipe tightly around the silver cylinder. The PVC pipe will now fully support your weight, locking the chair at that specific height.
Disclaimer: Both of these DIY methods will eliminate the original shock-absorbing function of the gas cylinder, and using them may make it impossible to restore your chair. Sitting down too forcefully could cause lower back discomfort; over time, it may even cause the chair's base plate to crack.
Permanent Fix: Replacing the Gas Cylinder
If your chair still offers excellent lumbar support and the seat cushion hasn't bottomed out from aging, replacing the gas cylinder is a highly cost-effective solution. A universal replacement cylinder typically costs around $20 to $30.
Tools You Will Need:
- A large rubber mallet (do not use a metal hammer, or you risk shattering the base).
- A pipe wrench (crucial for a stubborn cylinder).
- WD-40 or penetrating oil.
Step-by-Step Replacement Guide:
- Separate the Base: Lay the chair on its side. Spray WD-40 where the cylinder meets the 5-star wheelbase. Let it sit for 10 minutes to allow the oil to penetrate and dissolve the grime. Grab the rubber mallet and firmly strike the edge of the 5-star base, working your way around the center hole until the base pops off.
- Remove the Cylinder from the Seat: This is generally considered the hardest part of the process. The top of the cylinder is press-fitted tightly into the metal tilt mechanism under the seat. Spray a generous amount of WD-40 at this joint.
- Twist and Pull: Clamp the pipe wrench tightly onto the top of the old cylinder (as close to the seat as possible). Forcefully twist the wrench to break the friction seal. Once the cylinder starts to turn, pull it straight out.
- Install the New Cylinder: Simply insert the new gas cylinder into the 5-star base, then place the seat cushion on top of the cylinder. Carefully sit on the chair to use your body weight to press-fit the new parts together.
Beyond Repairs: Have You Looked at Your Chair Lately?
If the rest of your chair is in pristine condition aside from the cylinder, replacing it makes perfect sense. However, there might be other underlying issues. If you are dealing with a sagging mesh backrest, a flattened seat cushion, or wobbly armrests that constantly bump into your desk, spending $30 on a new cylinder won't truly save your posture. It’s time to upgrade your gear and build a professional workspace.
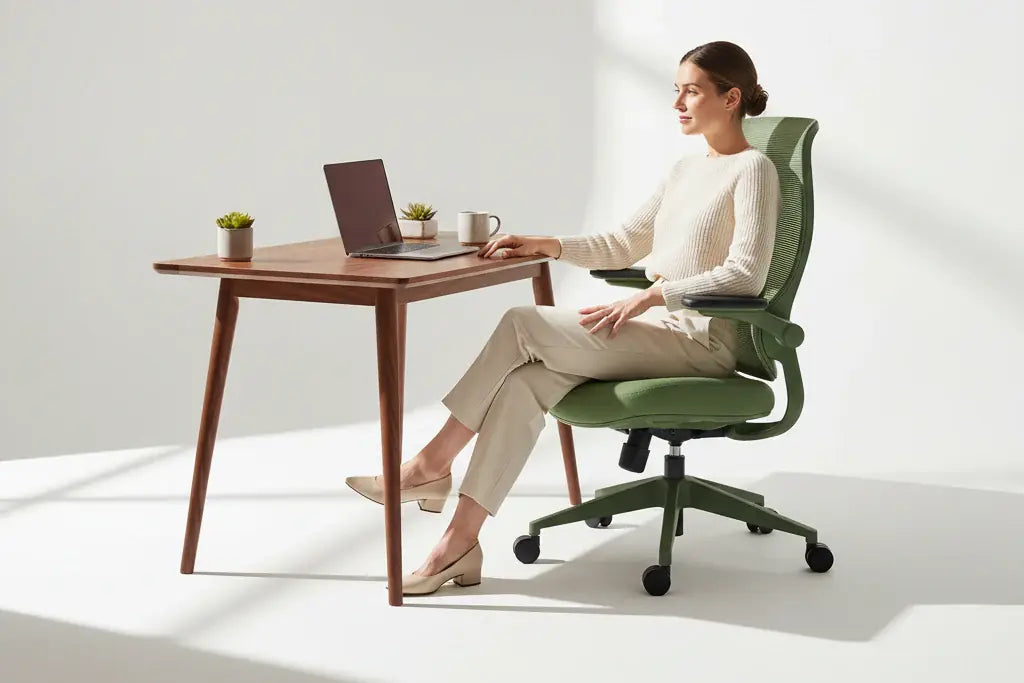
Upgrade Your Throne: The Sunaofe Resistance Color Ergonomic Office Chair
Say goodbye to failing old parts and boring traditional office aesthetics. The Sunaofe Resistance series is designed for professionals who demand both outstanding performance and personal style.
- Built to Last: It comes standard with a heavy-duty Class 4 gas cylinder—meaning you won't need to read repair guides like this again anytime soon.
- Space-Saving Flip-Up Armrests: Say goodbye to annoying armrests that keep you from getting close to your keyboard. When you need to push the chair fully under the desk for deep, uninterrupted focus, simply flip the 3D armrests up and out of the way.
- All-Day Comfort: The breathable, high-elastic mesh material ensures you stay cool and refreshed during long, intense programming sessions while maintaining strong structural support. Plus, the series offers 8 vibrant color options (including Yellow, Purple, and Orange) to instantly energize your workspace.

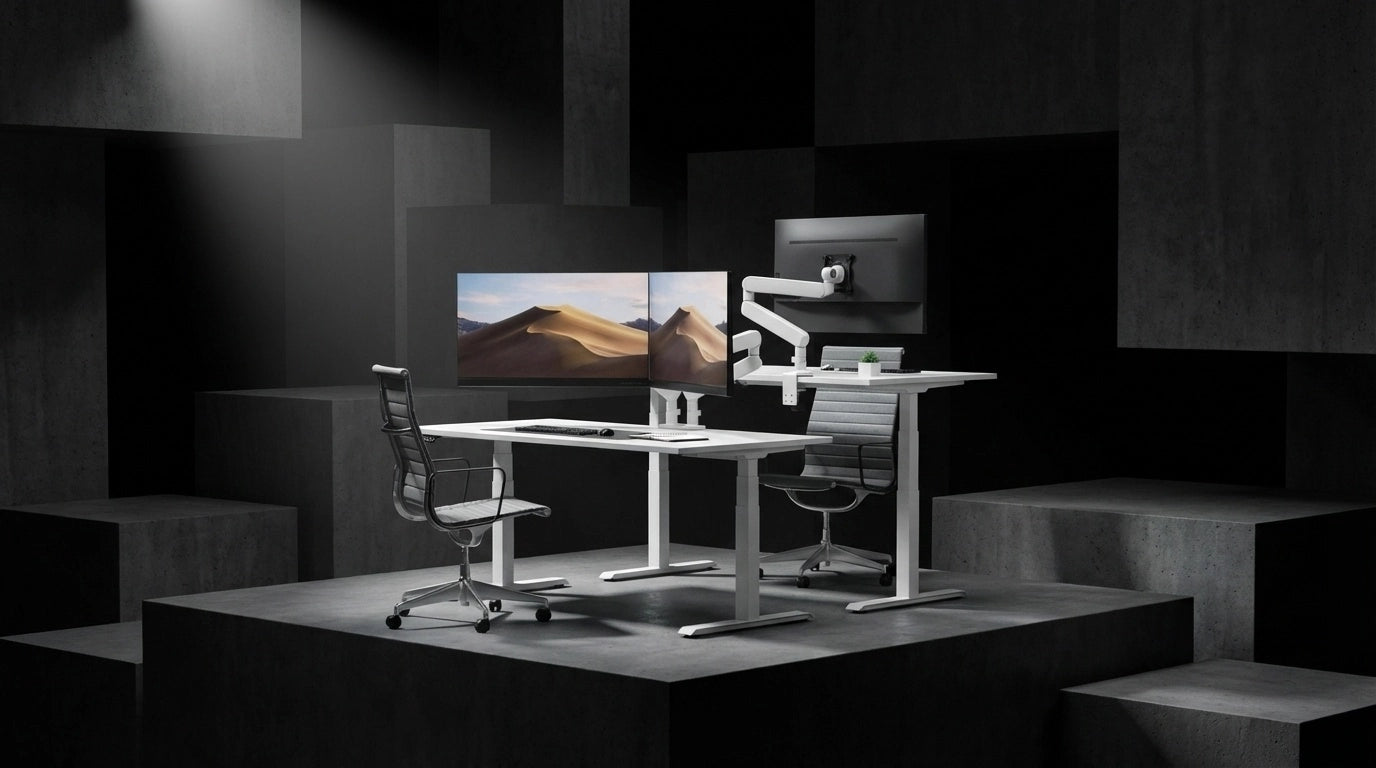
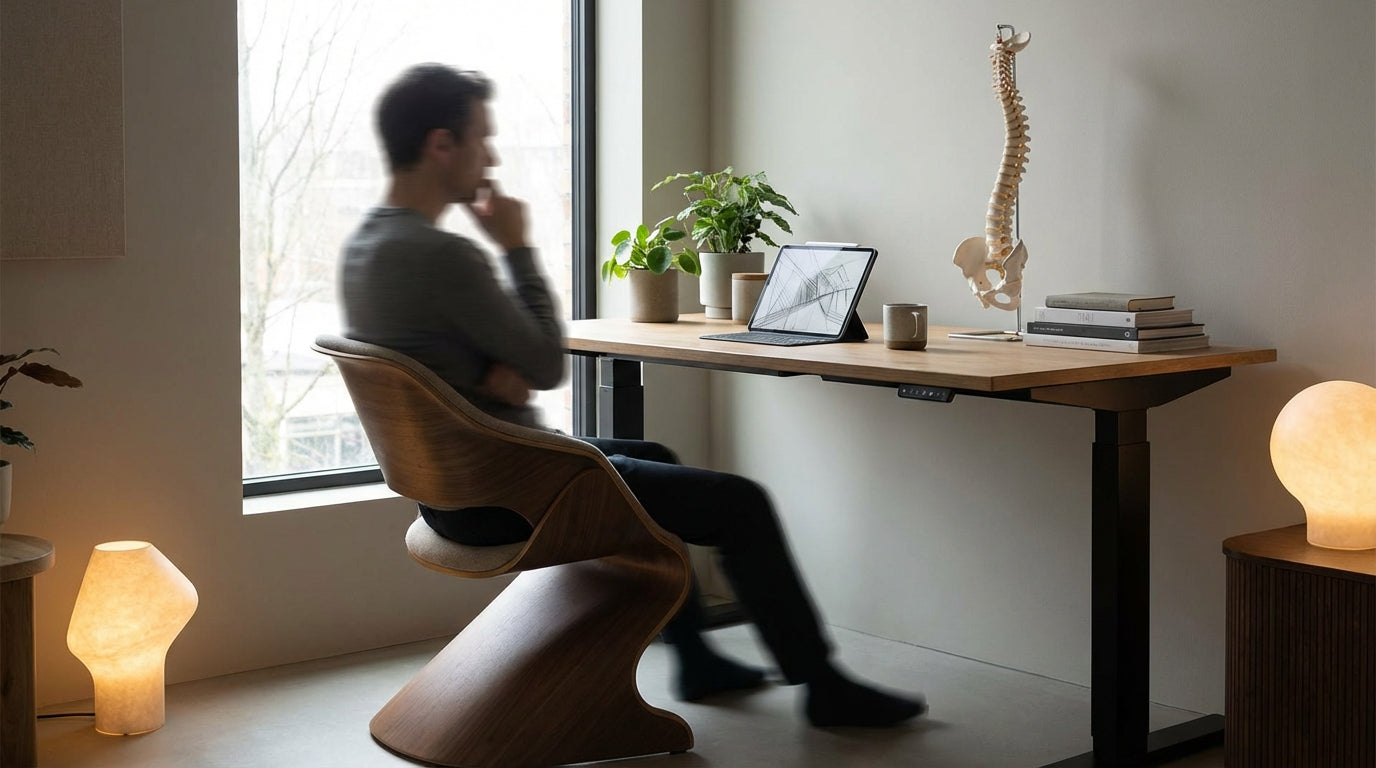
2. Fix the Real Problem: The Sunaofe Lunar Ergonomic Standing Desk
Sometimes, wrist pain and stiff shoulders aren't caused by a sinking chair, but by the fixed height of your desk. Pairing your new chair with the Sunaofe Lunar Ergonomic Standing Desk is the ultimate solution for posture issues.
- The Lunar Curve Design: Unlike traditional rectangular desks, the Lunar series features a unique ergonomic curved front edge. This design allows you to sit closer to your monitors, providing perfect support for your elbows and significantly reducing muscle fatigue and stress in your shoulders.
- Elite Performance: Powered by a silent motor, it offers a massive height adjustment range from 28.0 to 51.2 inches and boasts a maximum weight capacity of 350 lbs. Even with a heavy dual-monitor setup, it lifts effortlessly, helping you seamlessly transition between sitting and standing throughout your workday.

Learning to repair your ergonomic chair is highly cost-effective and can save you a significant amount of money. However, you also need to keep an eye on your chair's overall condition; all office equipment has a lifespan. If endless patching and repairing end up causing permanent damage to your body, the loss will outweigh the gain. Knowing when to repair and when to replace is a crucial balance to strike.
Laisser un commentaire
Tous les commentaires sont modérés avant d'être publiés.
Ce site est protégé par hCaptcha, et la Politique de confidentialité et les Conditions de service de hCaptcha s’appliquent.